
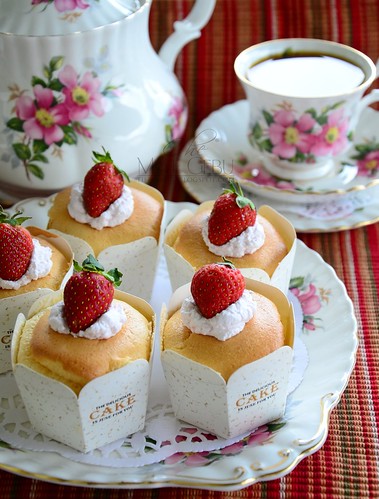
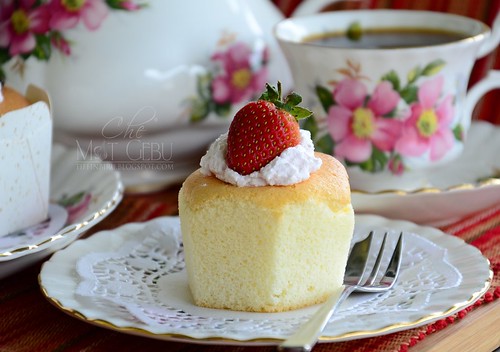
Boston Cream Pie Cupcakes
Makes 24
6 T. unsalted butter, plus more at room temperature for greasing tins
1 1/2 cups all-purpose flour, plus more for tins
1 1/2 tsp. baking powder
1/2 tsp. salt
1/2 cup milk
3 large eggs, room temperature
1 cup sugar
1 tsp. vanilla extract
Pastry Cream
Chocolate Ganache (see below)
Preheat oven to 350 degrees F. Brush the muffin tins with butter, dust with flour, and tap out the excess. Whisk together the flour, baking powder, and salt. Combine milk and butter in a saucepan and set over low heat until butter melts.
With an electric mixer on high speed, whisk eggs and sugar until fluffy, pale yellow, and thick, about 5 minutes. Reduce speed to medium, and gradually add flour mixture until just mixed.
Bring milk and butter to a boil. With mixer on low speed, add hot milk to batter in a slow, steady stream. Mix until smooth and beat in vanilla.
Divide batter evenly among muffin tins (using a ladle is a good idea, as the batter is very liquidy). Bake, rotating tins halfway through, until cupcakes are golden and a cake tester comes out clean, about 15 minutes. Transfer tins to wire racks to cool for 10 minutes, then run a small knife around the edges of the tins to loosen cupcakes. Turn out cupcakes onto racks and let cool completely.
Use a serrated knife to gently split cupcakes in half horizontally. Use a small ice cream scoop (about 1 1/2 T.) to distribute pastry cream among the bottom of the cupcake halves. Replace top halves and carefully press down lightly. Spoon about 1 T. ganache over each cupcake. Refrigerate 30 minutes before serving.
Chocolate Ganache
Makes about 1 1/4 cups
6 oz semisweet chocolate, finely chopped
2/3 cup heavy cream
Place chocolate in a heatproof bowl. Bring cream to a simmer in a small saucepan over medium-high heat, and then pour mixture over chocolate. Let stand, without stirring, for a few minutes until chocolate begins to melt. Gently stir chocolate into cream until the mixture is completely combined. Allow mixture to cool slightly before spooning over cupcakes.
Once the cupcakes were done baking, I allowed them to cool completely before I started on the next steps.
 |
When I had completely cool cupcakes, I used my nifty new corer to remove the centers of each cupcake.
 |
I made sure to save the top of each removed piece in order to use it
as a topper once the cream filling was inserted into each cupcake.
 |
Unfortunately, I’m not so good with the corer yet but was still able
to get near-perfect holes in the center of all of my cupcakes.
When all of the cupcakes were cored, I filled a plastic sandwich bag with the pudding filler and cut the corner off.
 |
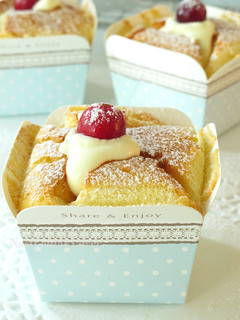
I used that to fill each cupcake center with vanilla cream.
 |
| Add caption |
Once each was filled, I topped them with the reserved pieces of cupcake that I had saved while coring.
 |
Next up was making the chocolate ganache topping!
All that was needed was 3 easy ingredients:
- 1 cup heavy cream
- 1/4 cup light corn syrup
- 8 oz. semisweet chocolate pieces
Once simmering, I added the chocolate pieces and covered the pot, removing it from the heat.
I let the mixture sit for 8 minutes to allow the chocolate pieces to melt.
The mixture may seem runny at first but keep stirring until the chocolate is completely melted and everything will then combine and begin to thicken.
Allow the ganache to cool until a small peak forms when the chocolate is drizzle with a spoon.
Once the ganache was ready, I dipped each cupcake top into the chocolate.
 |
I made sure to sit the cupcakes on wax paper, in case any ganache dripped.
 |
 |
Once cooled and the chocolate has solidified, your cupcakes are ready for you to dig in!
 |
I obviously had to try one.
 |
You can’t bring a first-time baked good in for someone’s birthday without being positive it is going to get good reviews.
 |
Come on now!
 |
I did have a back up plan just in case.
 |
It’s nice that Whole Foods is only a block away…but after one bite I
knew I wasn’t going to have to make any stops there this morning.
No Siree!
Boston Cream Pie Cupcakes were a definite success!
 |
 |
What do you do with all of the cupcakes that you removed from the center of each?
You can’t waste of course!
So you mix it with the remaining vanilla pudding filler and add some chocolate chips.
 |
 |
Question:
Do you ever experiment with new-to-you baking ideas when you are going to be taking the finished product to a party or gathering of sort?
I usually don’t but have on a couple of occasions – today being one of them!
How many cupcakes (or cookies or brownies) to you taste-test directly after baking?
I try to hold myself to one!! Sometimes I am really good and can wait until I get to wherever I am taking them before snagging one – but that’s only when I’m baking for an event. If I’m baking to bake, you can bet there will be one missing immediately! Aren’t baked goods always best straight from the oven?!


